Step 2: Getting Ready
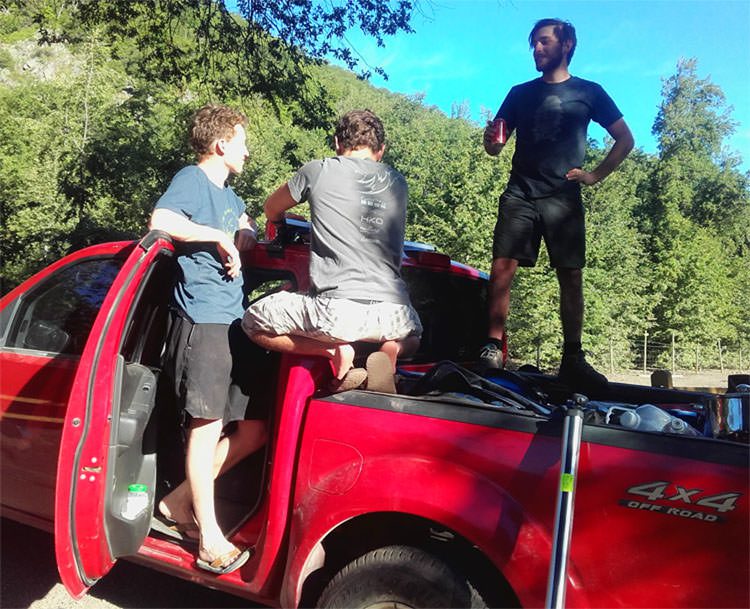
Before going on the river though, there are some things to do. Like getting a car (ideally you organized your car beforehand) or buying some important stuff like a cooker, food, water, etc.
Step 4: Equipment and Group
Safety first! Don’t unnecessarily endanger yourself or your group members. Dress properly, bring enough safety equipment, etc. Check out the S2S-Online Shop for high quality equipment.
In the best case you paddle there with people you already know, ideally in a group of 4-10 people.
And don’t forget to use a kayak you are comfortable with. Try the Jackson Nirvana, it is perfectly balanced between fun, stability and speed. From the day I use the Nirvana I enjoy kayaking even more!

Step 5: Go kayaking!
Now we have the best part of the trip – Kayaking!
Once you finished the previous steps, you can get ready for a really nice time!
Drive to the first river and get stoked. We went to the Rio Maipo on our first day. It’s a big volume river and the road is not far away most of the time.
The first must-do river (if you have a good waterlevel) is the Rio Claro. It offers amazing drops and a beautiful landscape.


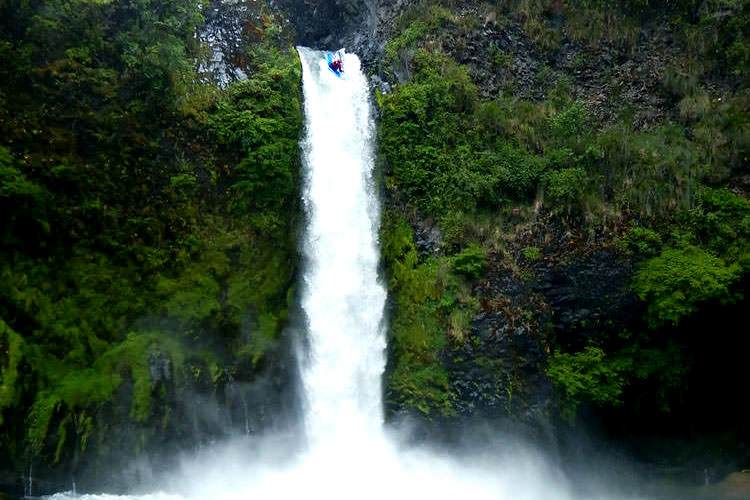
After the Rio Claro, there are some nice rivers on the way to Pucon. For example the Rio Cautin. You can also Park’n’Huck two awesome waterfalls: The Salto Blanco del Sur, a 10m (30 foot) waterfall with a clean pool and easy entrance! And the Salto Tomatita, 15 meters high (45 foot).
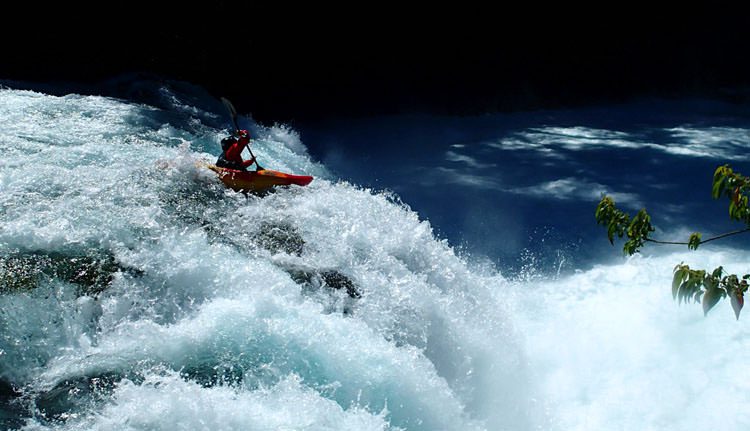
When you arrive in Pucon, prepare yourself for some awesome days of kayaking. There are so many cool rivers to do, like the Rio Puesco, a super continuous class IV. Or the Rio Nevados, a steep george with stunning drops and slides. One of my favourites is the upper Palguin. It is just a 10 Minutes run but it has some really juicy rapids and drops in it.

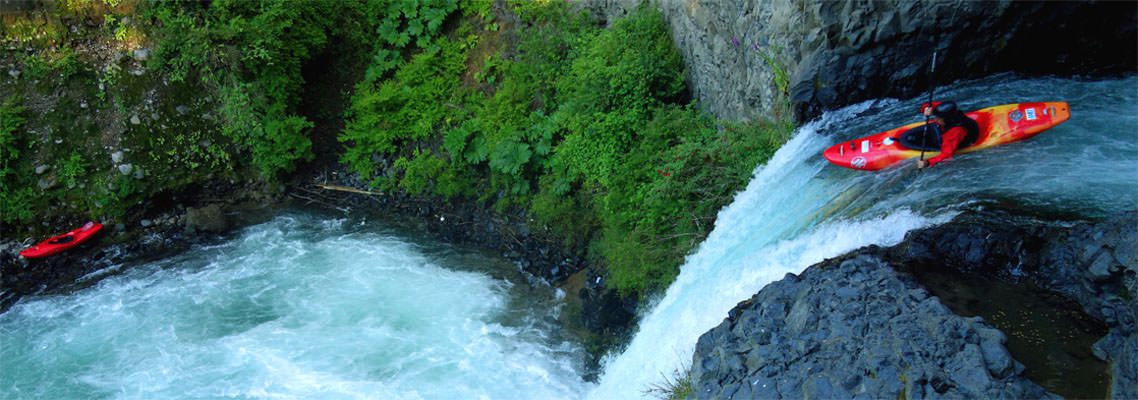
Another Park’n’Huck is the Salto Coilaco, it’s also in the Pucon area.

When you decide to leave Pucon, your next highlight awaits you 2,5h further south – the Rio Fuy! The upper has big drops and a nice triple combo to offer and the lower is big Volume class III, super fun!
Unfortunately we did not make it until the next famous river, the Futaleufu because of the landslide which destroyed the road…
Everyone says the Futaleufu is a dream piece of whitewater, so go there!
I guess you are now thinking „Damn, I’m going to Chile next year!“ And thats good!
I am already looking forward to Chile next winter! Hope to see you on the river;)
